Pricing Information
Please support this web site by buying from our sponsor:
 |
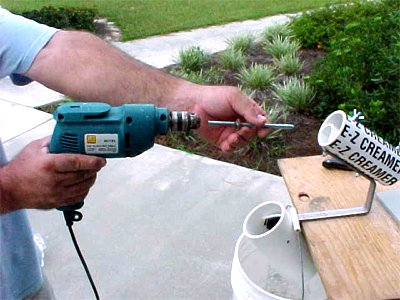
Kerry's Corn Creamer |
 |
 |
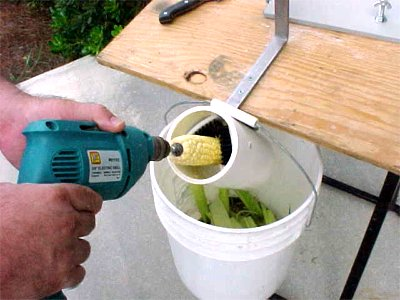
Kerry's Corn Creamer | |
 |
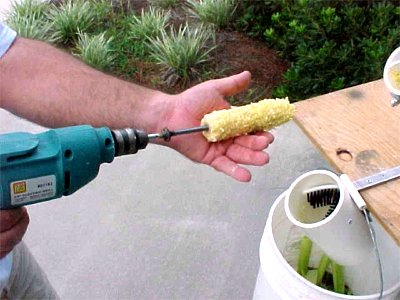
Kerry's Corn Creamer | |
 |
Kerry's Corn Creamer | |
 |
Kerry's Corn Creamer | |
Please support this web site by buying from our sponsor:
|
Kerry's Corn Creamer |
|
|
Kerry's Corn Creamer | |
|
Kerry's Corn Creamer | |
|
Kerry's Corn Creamer | |
|
Kerry's Corn Creamer | |


2024 - Kerry's Corn Creamer System
Cardinal Theme by Cagintranet
Powered by GetSimple